Generator Hub for Bikepacking

I'll try to make this a friendly read for both the nerdist and the skimmer.  Nerds, read the fine print.  Skimmers, read the bold print. 

THE OPTIONS

When I first started researching what I would do for power a couple months ago, the pieces of the puzzle weren't really lining up in a way that made sense.  Far as I could tell, there were about four options for power on the trail:

  1. Slave to the Outlet - can you picture yourself asking for the outlet at a hometown diner while cowboys sit down to eat ? I can't. 
  2. Batteries - disposable, easy to buy at gas stations, lots of them, plus a USB battery pack for your phone
  3. Solar Panels
  4. Generator Hub

They rank in that order of up-front cost.  Option 1 and 2 didn't really appeal to me.  I'm an environmentalist at heart, so I was actually interested in seeing if there were creative ways to power up.  Narrowed down to solar panels and a generator hub, here's why I chose generator hub

  1.  Solar Panels - These are probably not a bad option if you have a rack that allows for a flat-ish surface upon which you can strap the panels while you ride.  However, for my bikepacking setup, I am using soft bags and this real estate just isn't there.  Considering that I'd be biking for most of the day, this leaves very few sunny hours that I could spread out the array.  Solar panels need sun.  It gets cloudy; nuff said? 
  2. Generator Hub - I'm going to be biking 6 - 7 hours a day.  Wouldn't it be great to constructively use some of that wattage?  At first, it seemed like a dynamo hub would be too delicate for off-road application, but Schmidt's and Shutter Precision (SP) make robust thru-axle dynamos. Rain or shine, as long as I'm going faster than about 5 mph, I can charge stuff. 

THE RESEARCH

As far as I can tell, there are TWO companies that make dynamos for thru-axle bikes.  (Most new mountain bikes have a thru-axle. Not sure what this means? Click here.) I could've switched to skewer, but with all the miles I was going to put on the bike, it seemed like I should stick with the more robust option. 

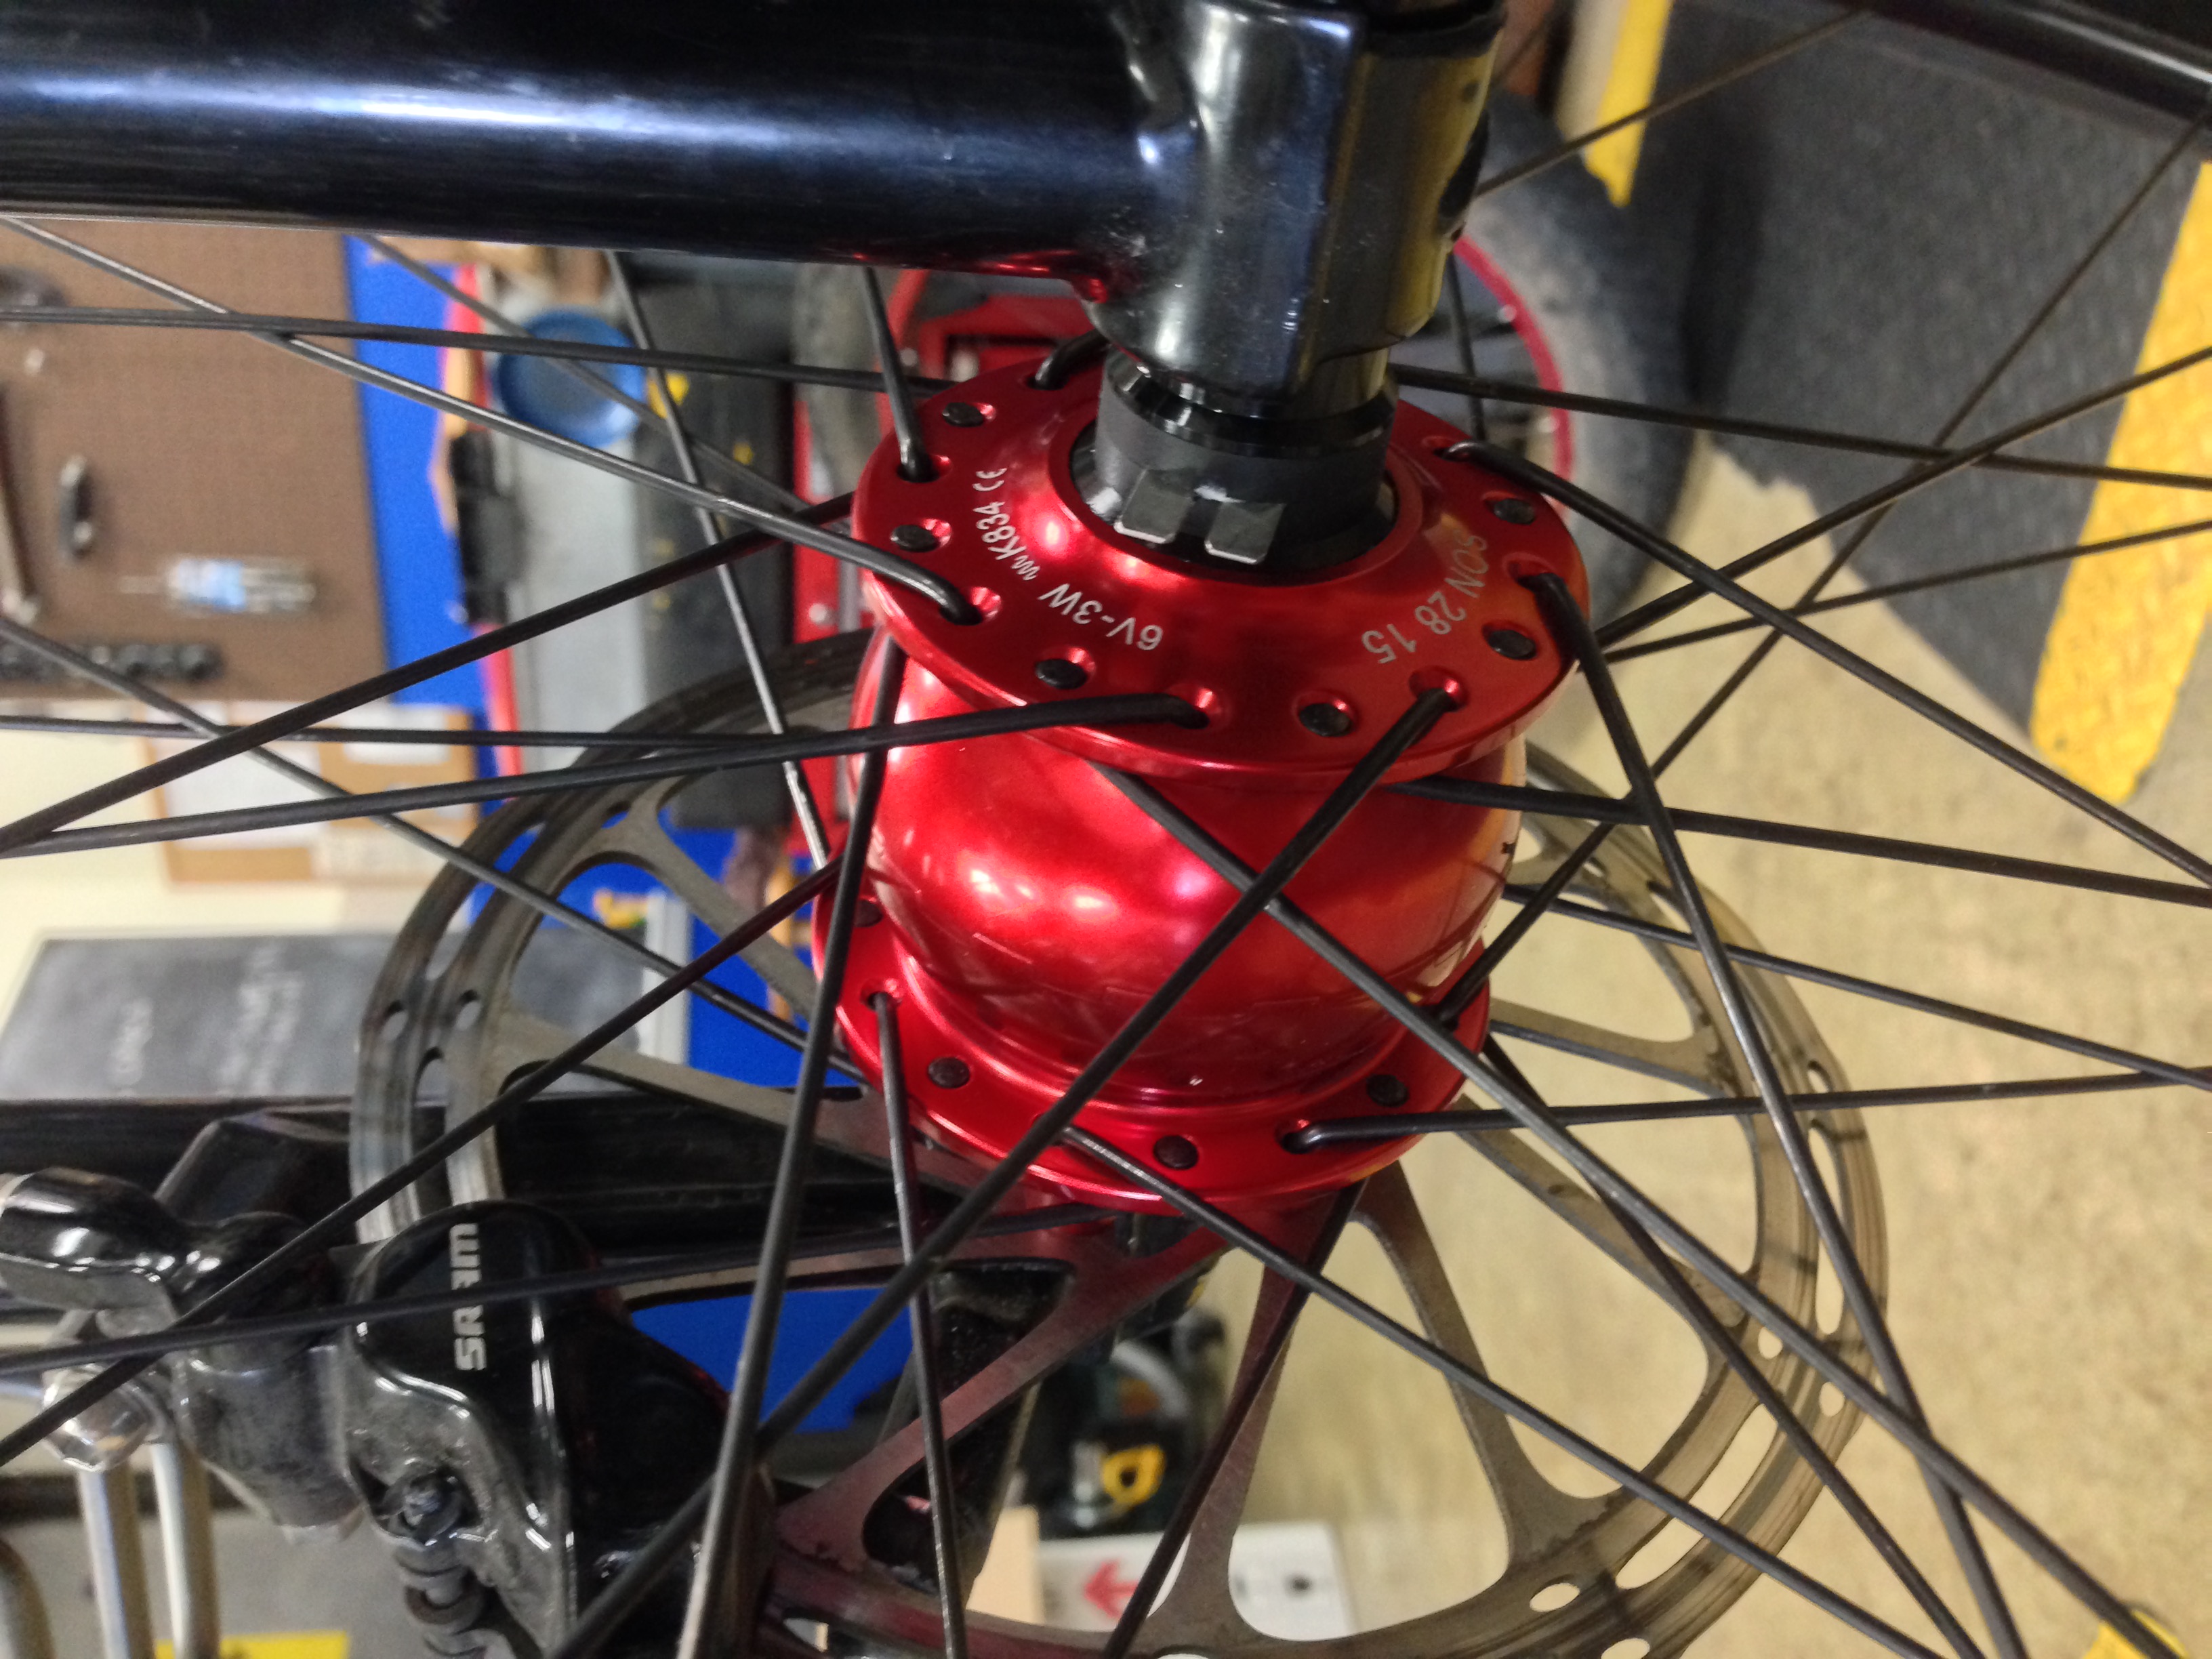
SCHMIDT'S  - German engineering, historically the company for high-end dynamos, first prototype in 1992 - They offer legacy in tried-and-tested products, which is backed by a 5-year warranty. Evidently their "pressure compensation system" is supposed to prevent water from intruding due to difference in temperature, and is now incorporated into all the SON dynamos. The SON 28 15 goes for about $380.00 USD after taxes and shipping.

SHUTTER PRECISION - Taiwanese company, formerly a digital camera shutter company, newer to the dynamo scene (2008) - However they have designed their dynamo, they tout an innovative approach that achieves remarkable efficiency at higher speeds.  And a for a price that won't make you gulp, hard. One can get an SP 8x for about $215.00, which comes with a 2-year warranty. 

A note about customer service: Both were excellent - Although it took a little longer for SP to get back to me (presumably because of the time difference), both companies emailed thoughtful responses when I asked them technical questions, even adding details that I didn't know to think of (e.g., wheel building specs).  Additionally, each of the companies were transparent about their product, even when being compared to their competitor.  Verbtaim, SP said, "SON is good at very low speed…." I really appreciated the honesty. 

Efficiency - SP claims a 78% efficiency at 15km/h (9.3 mph), which is record-breaking; however, they claim lower efficiencies at lower speeds. Schmidt's claims an efficiency of 65% at 15km/h, but have a higher efficiency at lower speeds. Personally, I would like to see third party tests of each hub to validate the data.  The most reliable information I found was from their websites, and this one German article that Google translate does a knock-out job of translating.  I say this because when I tried to compare the wattage to speed graphs from each company, it's not clear how they conducted each of their tests, so it was too hard for me to say that I was comparing apples to apples.

SP's efficiency graph - from website

SP's efficiency graph - from website

Schmid'ts efficiency graph - from website

Schmid'ts efficiency graph - from website


Durability - SP claims to have built what they consider the strongest hub on the market, but Schmidt's has the time and 5-year warranty to back up how they feel about their durability.  Other tour divide riders have used SP, but I couldn't find any review straight from the source.  My guess is that SP just needs more time to build confidence in their product. 

Price - This is where we see the big separation in the two companies. Schmidt's is almost double the price of SP.  I can appreciate that SP is making a really rad technology available to more people, but I don't believe in something for nothing, and in all of my research, I couldn't really pin down why theirs was so much cheaper.  

THE DECISION

I ended up choosing the Schmidt's SON, but would consider SP again in the future: 

In the end, I purchased the SON because I felt the 5-year warranty said a lot for the product's durability and Schmidt's commitment to customer support.  I also felt that I would often be traveling at lower speeds on a mountainous, off-route trail, and appreciated the very high efficiencies in the range of 3-9 mph.  Lastly, I was probably scared off by the price of SP and the very high efficiencies claimed at higher speeds.  I'm a person that believes there's NO SUCH THING AS A FREE LUNCH.  I'm sure that SP has some very good manufacturing practices and high quality data to back up their claims, but I couldn't find it. However, I do believe that SP is working toward great things, and that in due time, they will be become a more established brand.  For both camps, it seems like some third-party testing is in order, and then I could really write a non-biased review.  
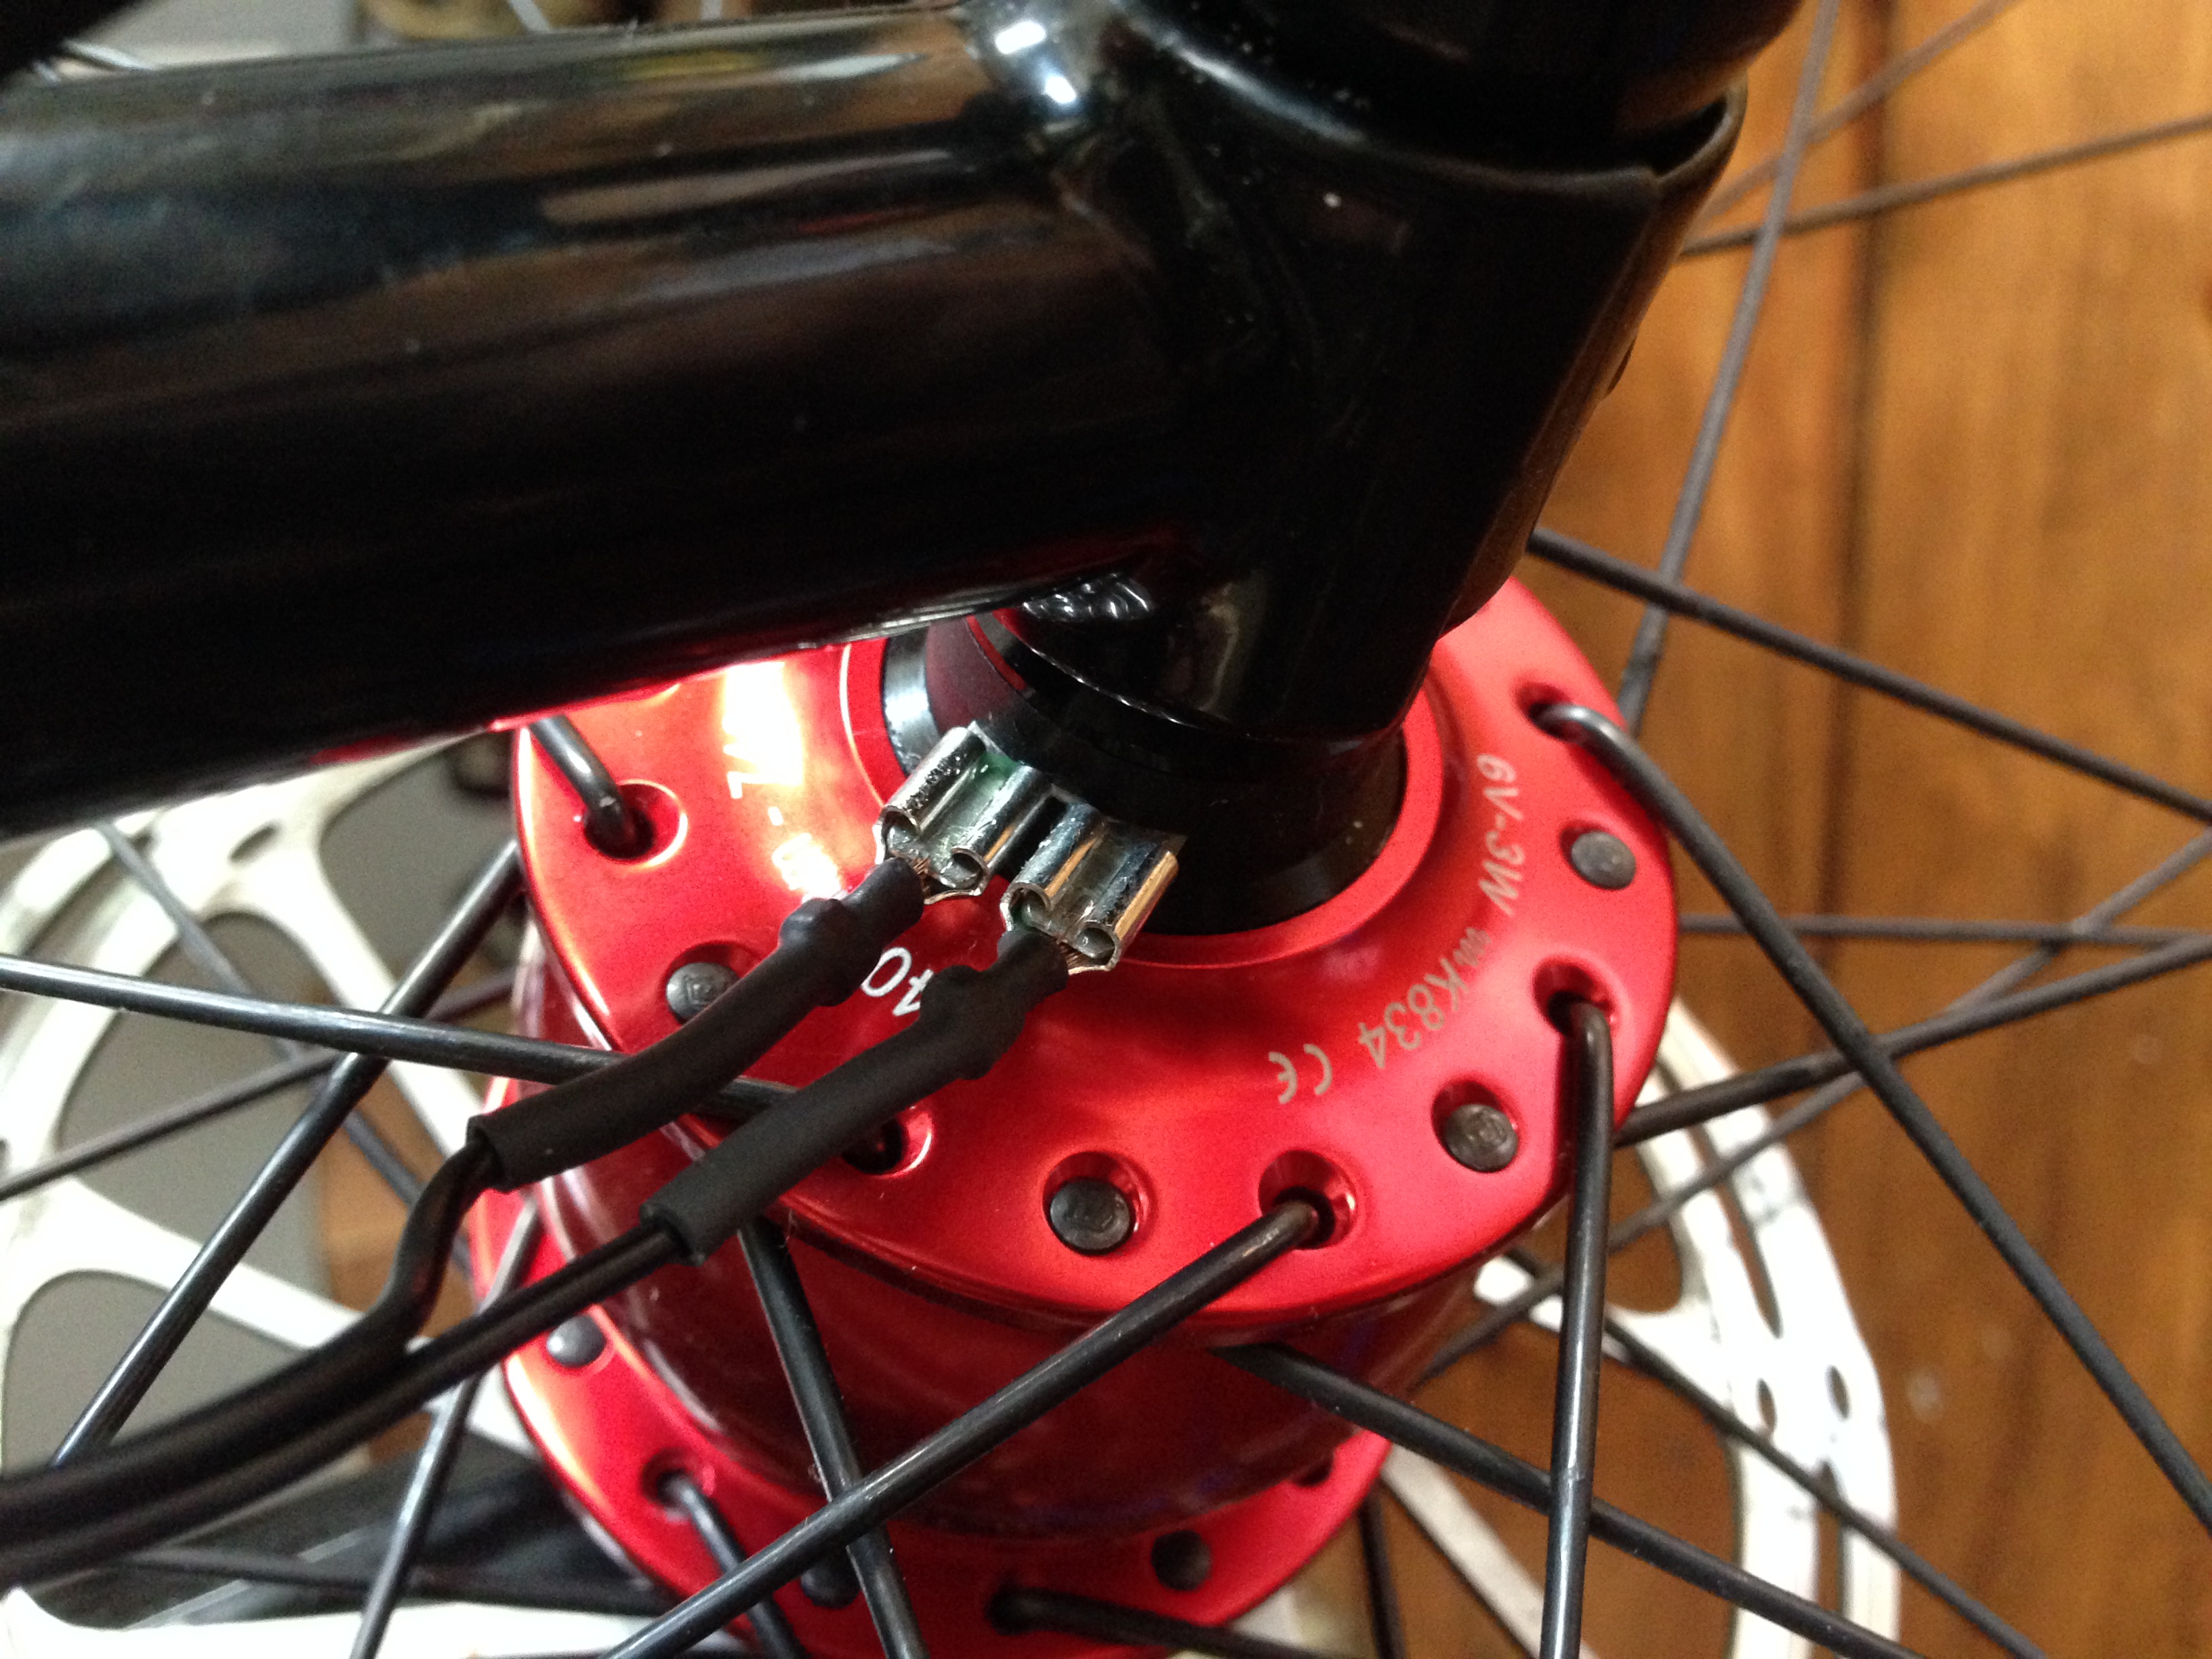
THE SYSTEM

This hub: Schmidt's SON 28 15 http://www.nabendynamo.de/produkte/son_28_15_en.html

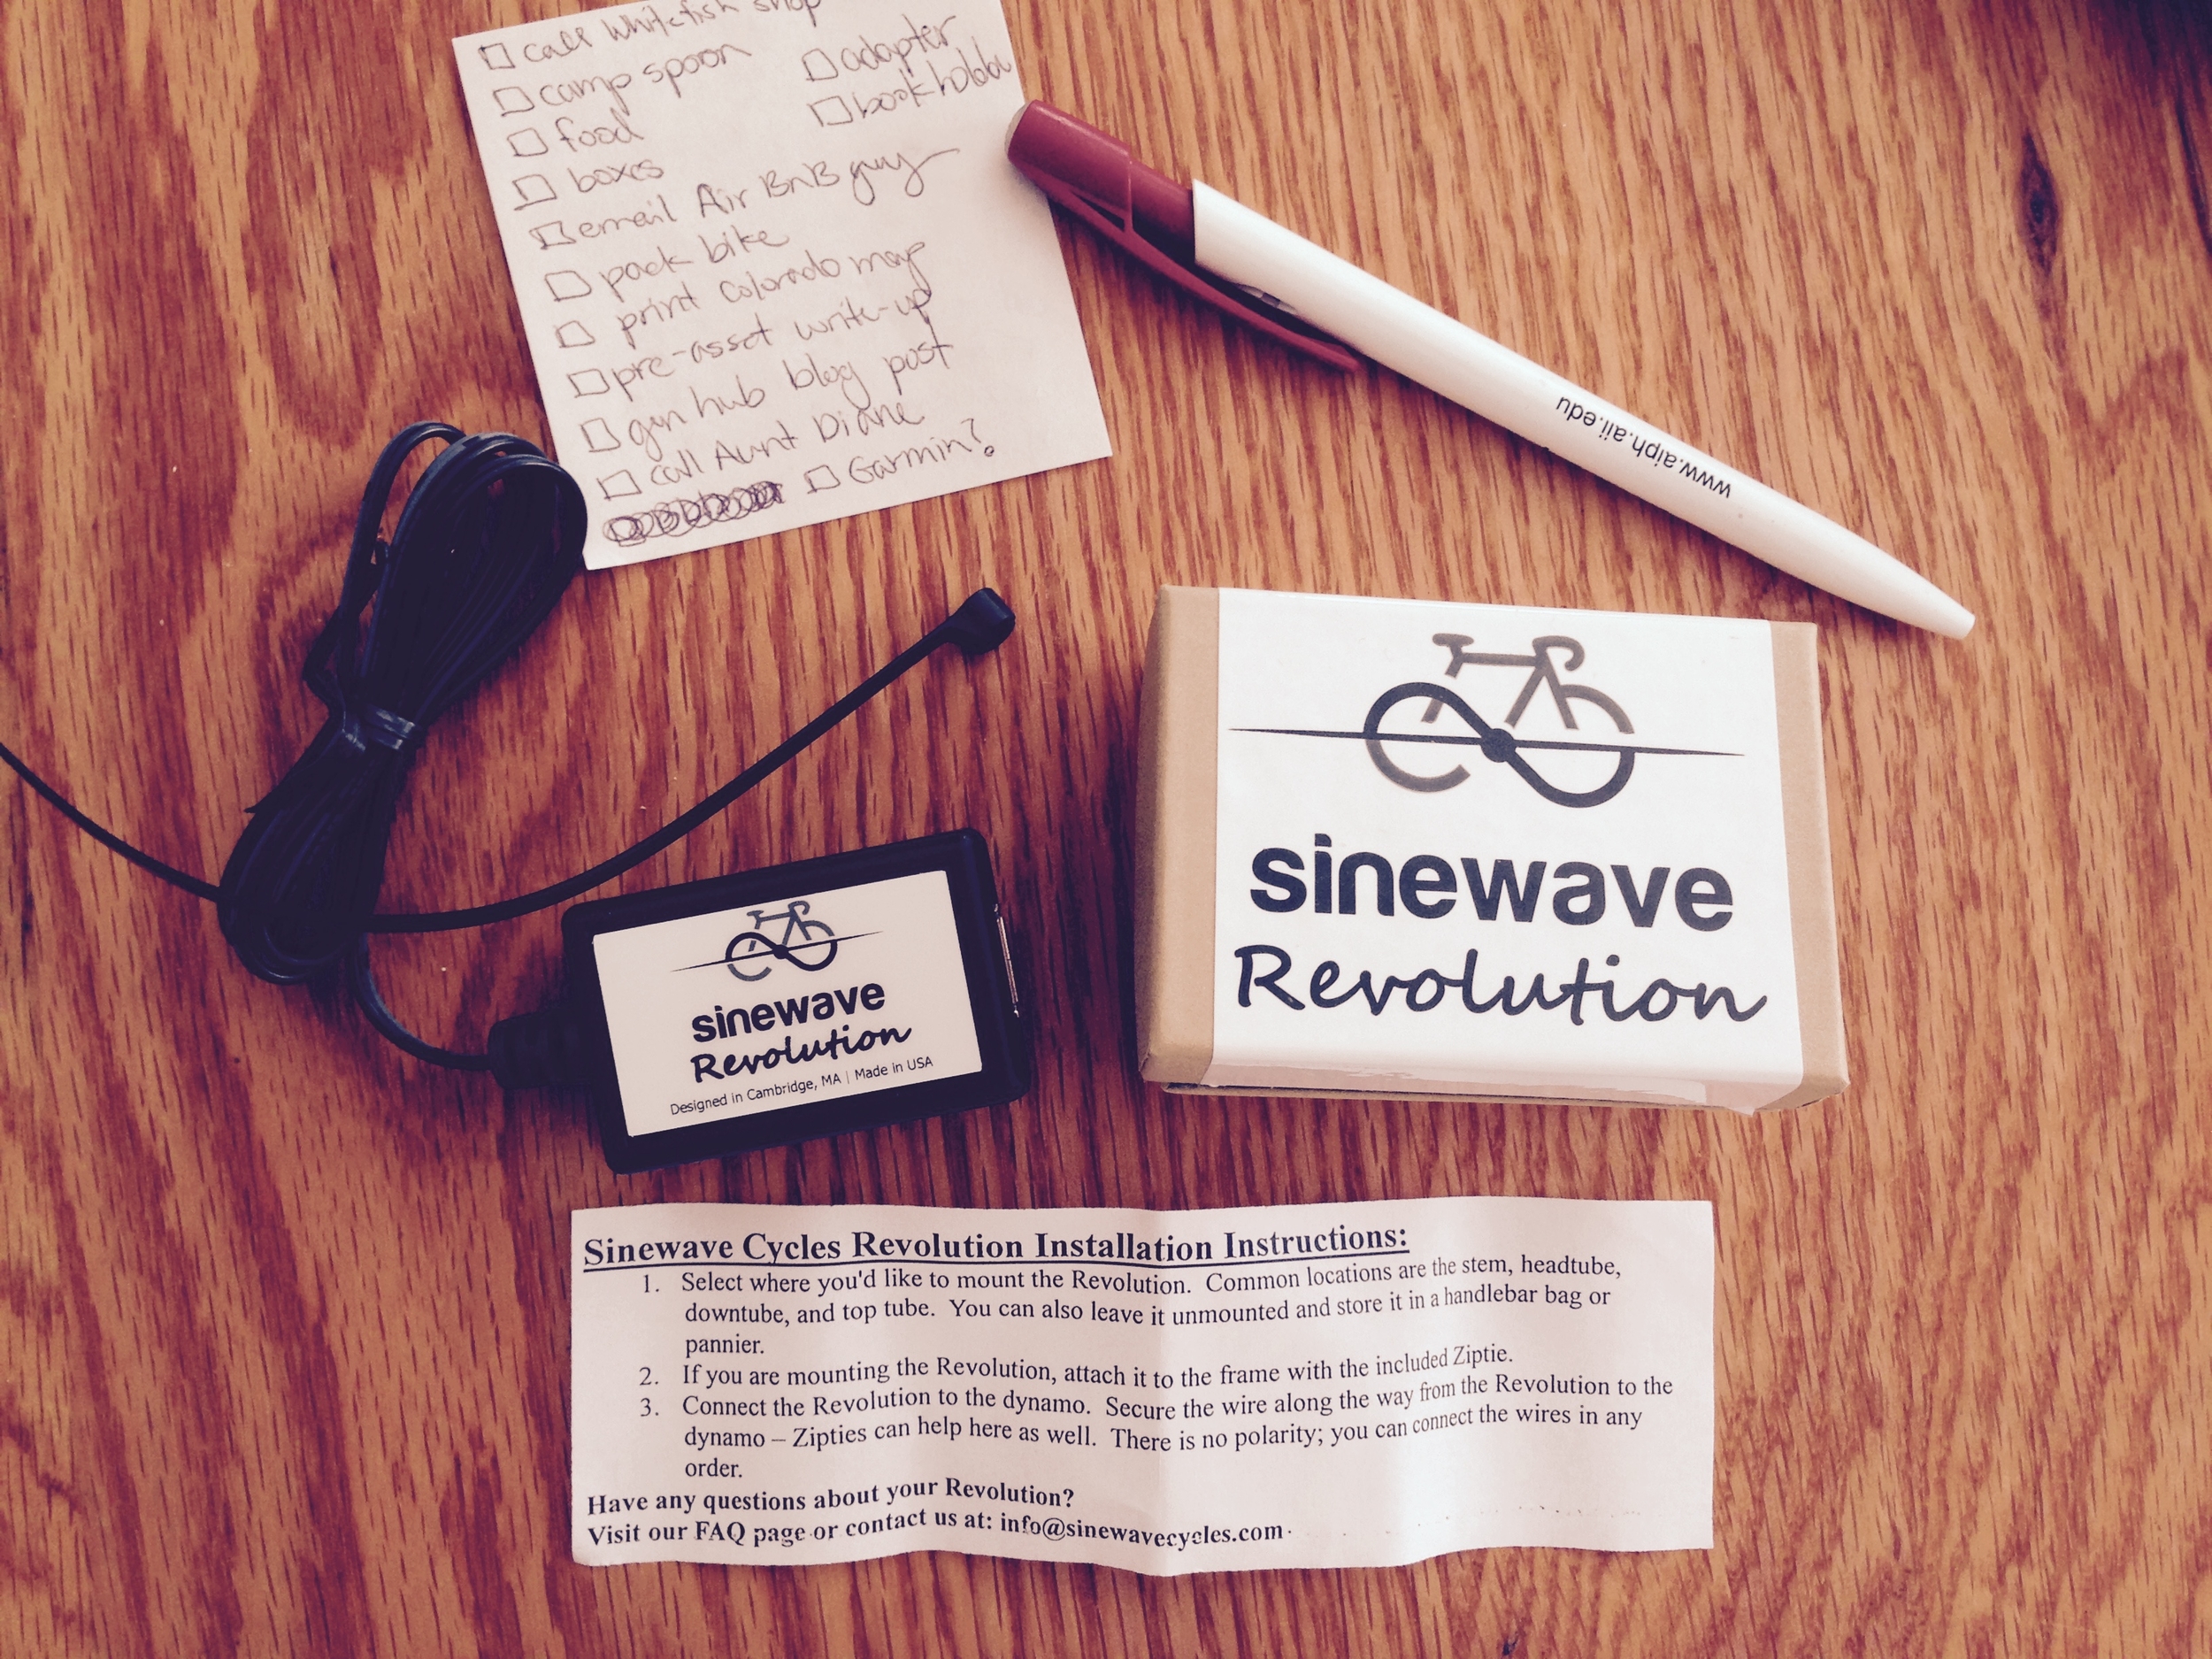
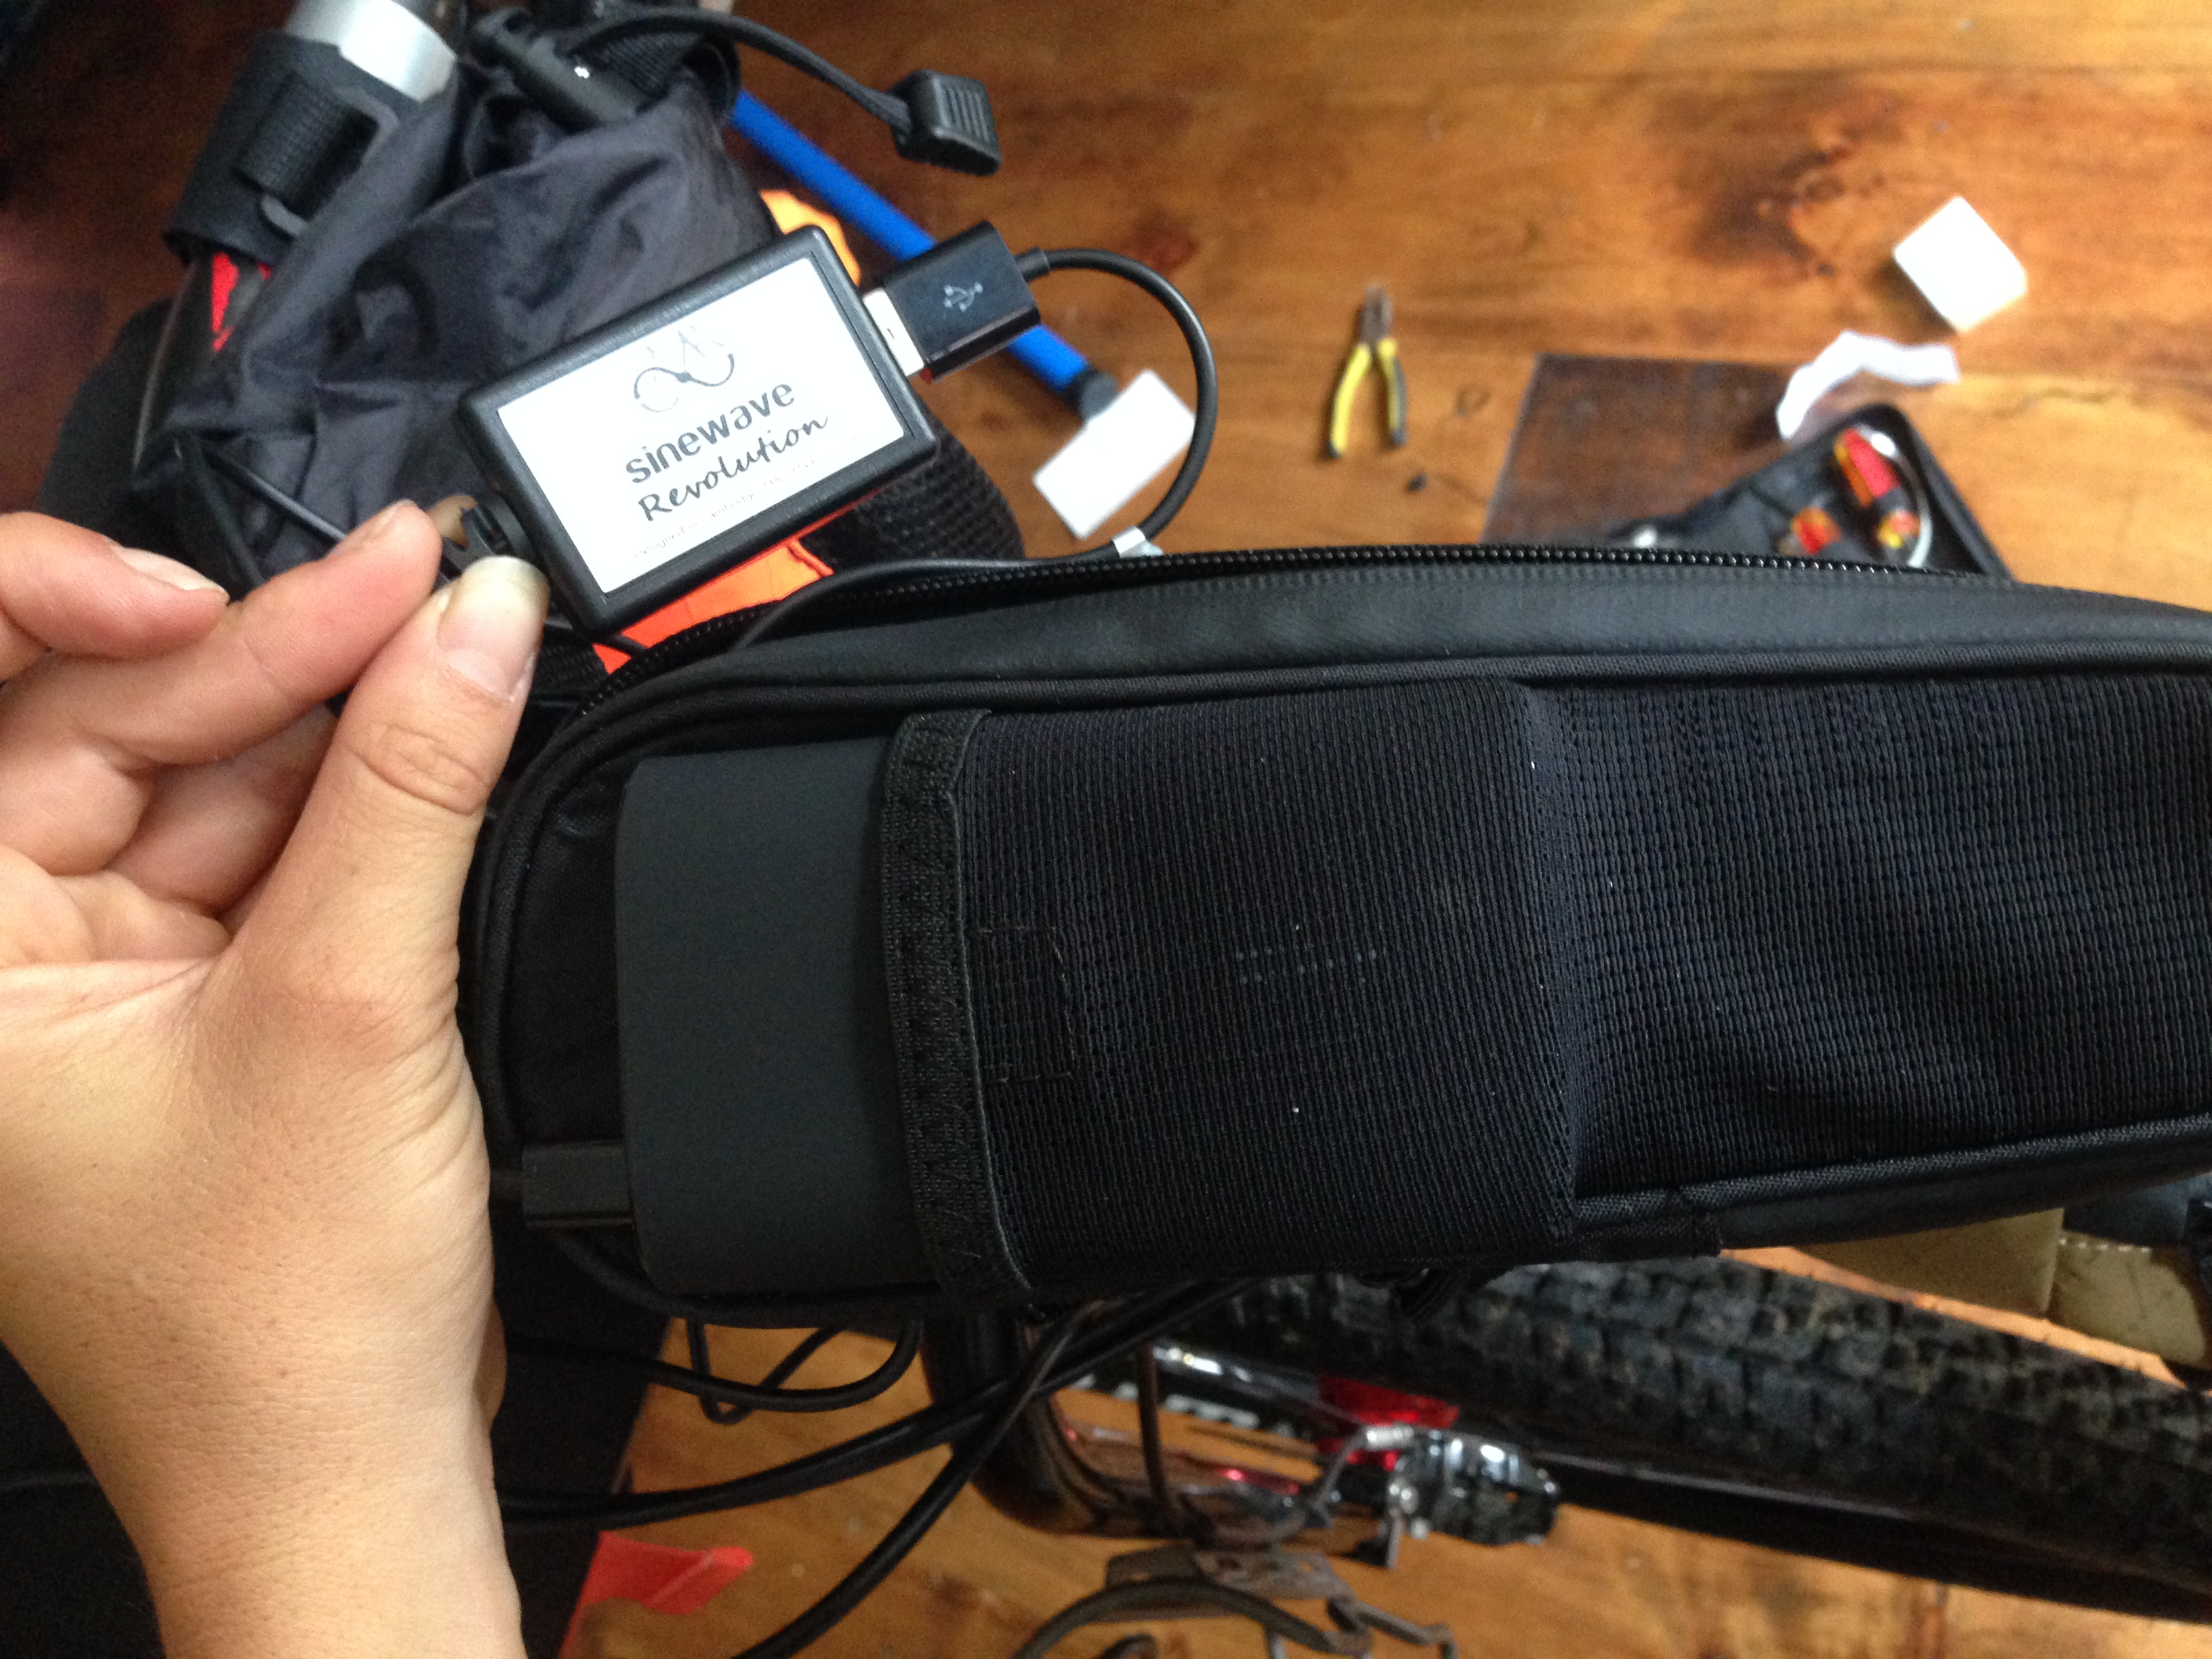
with this Rectifier (aka USB converter) 
Sinewave Cycles Revolution: http://www.sinewavecycles.com/products/sinewave-revolution

I can charge a phone directly or an external battery pack.  I chose the Anker 2nd Gen 9600mAh.

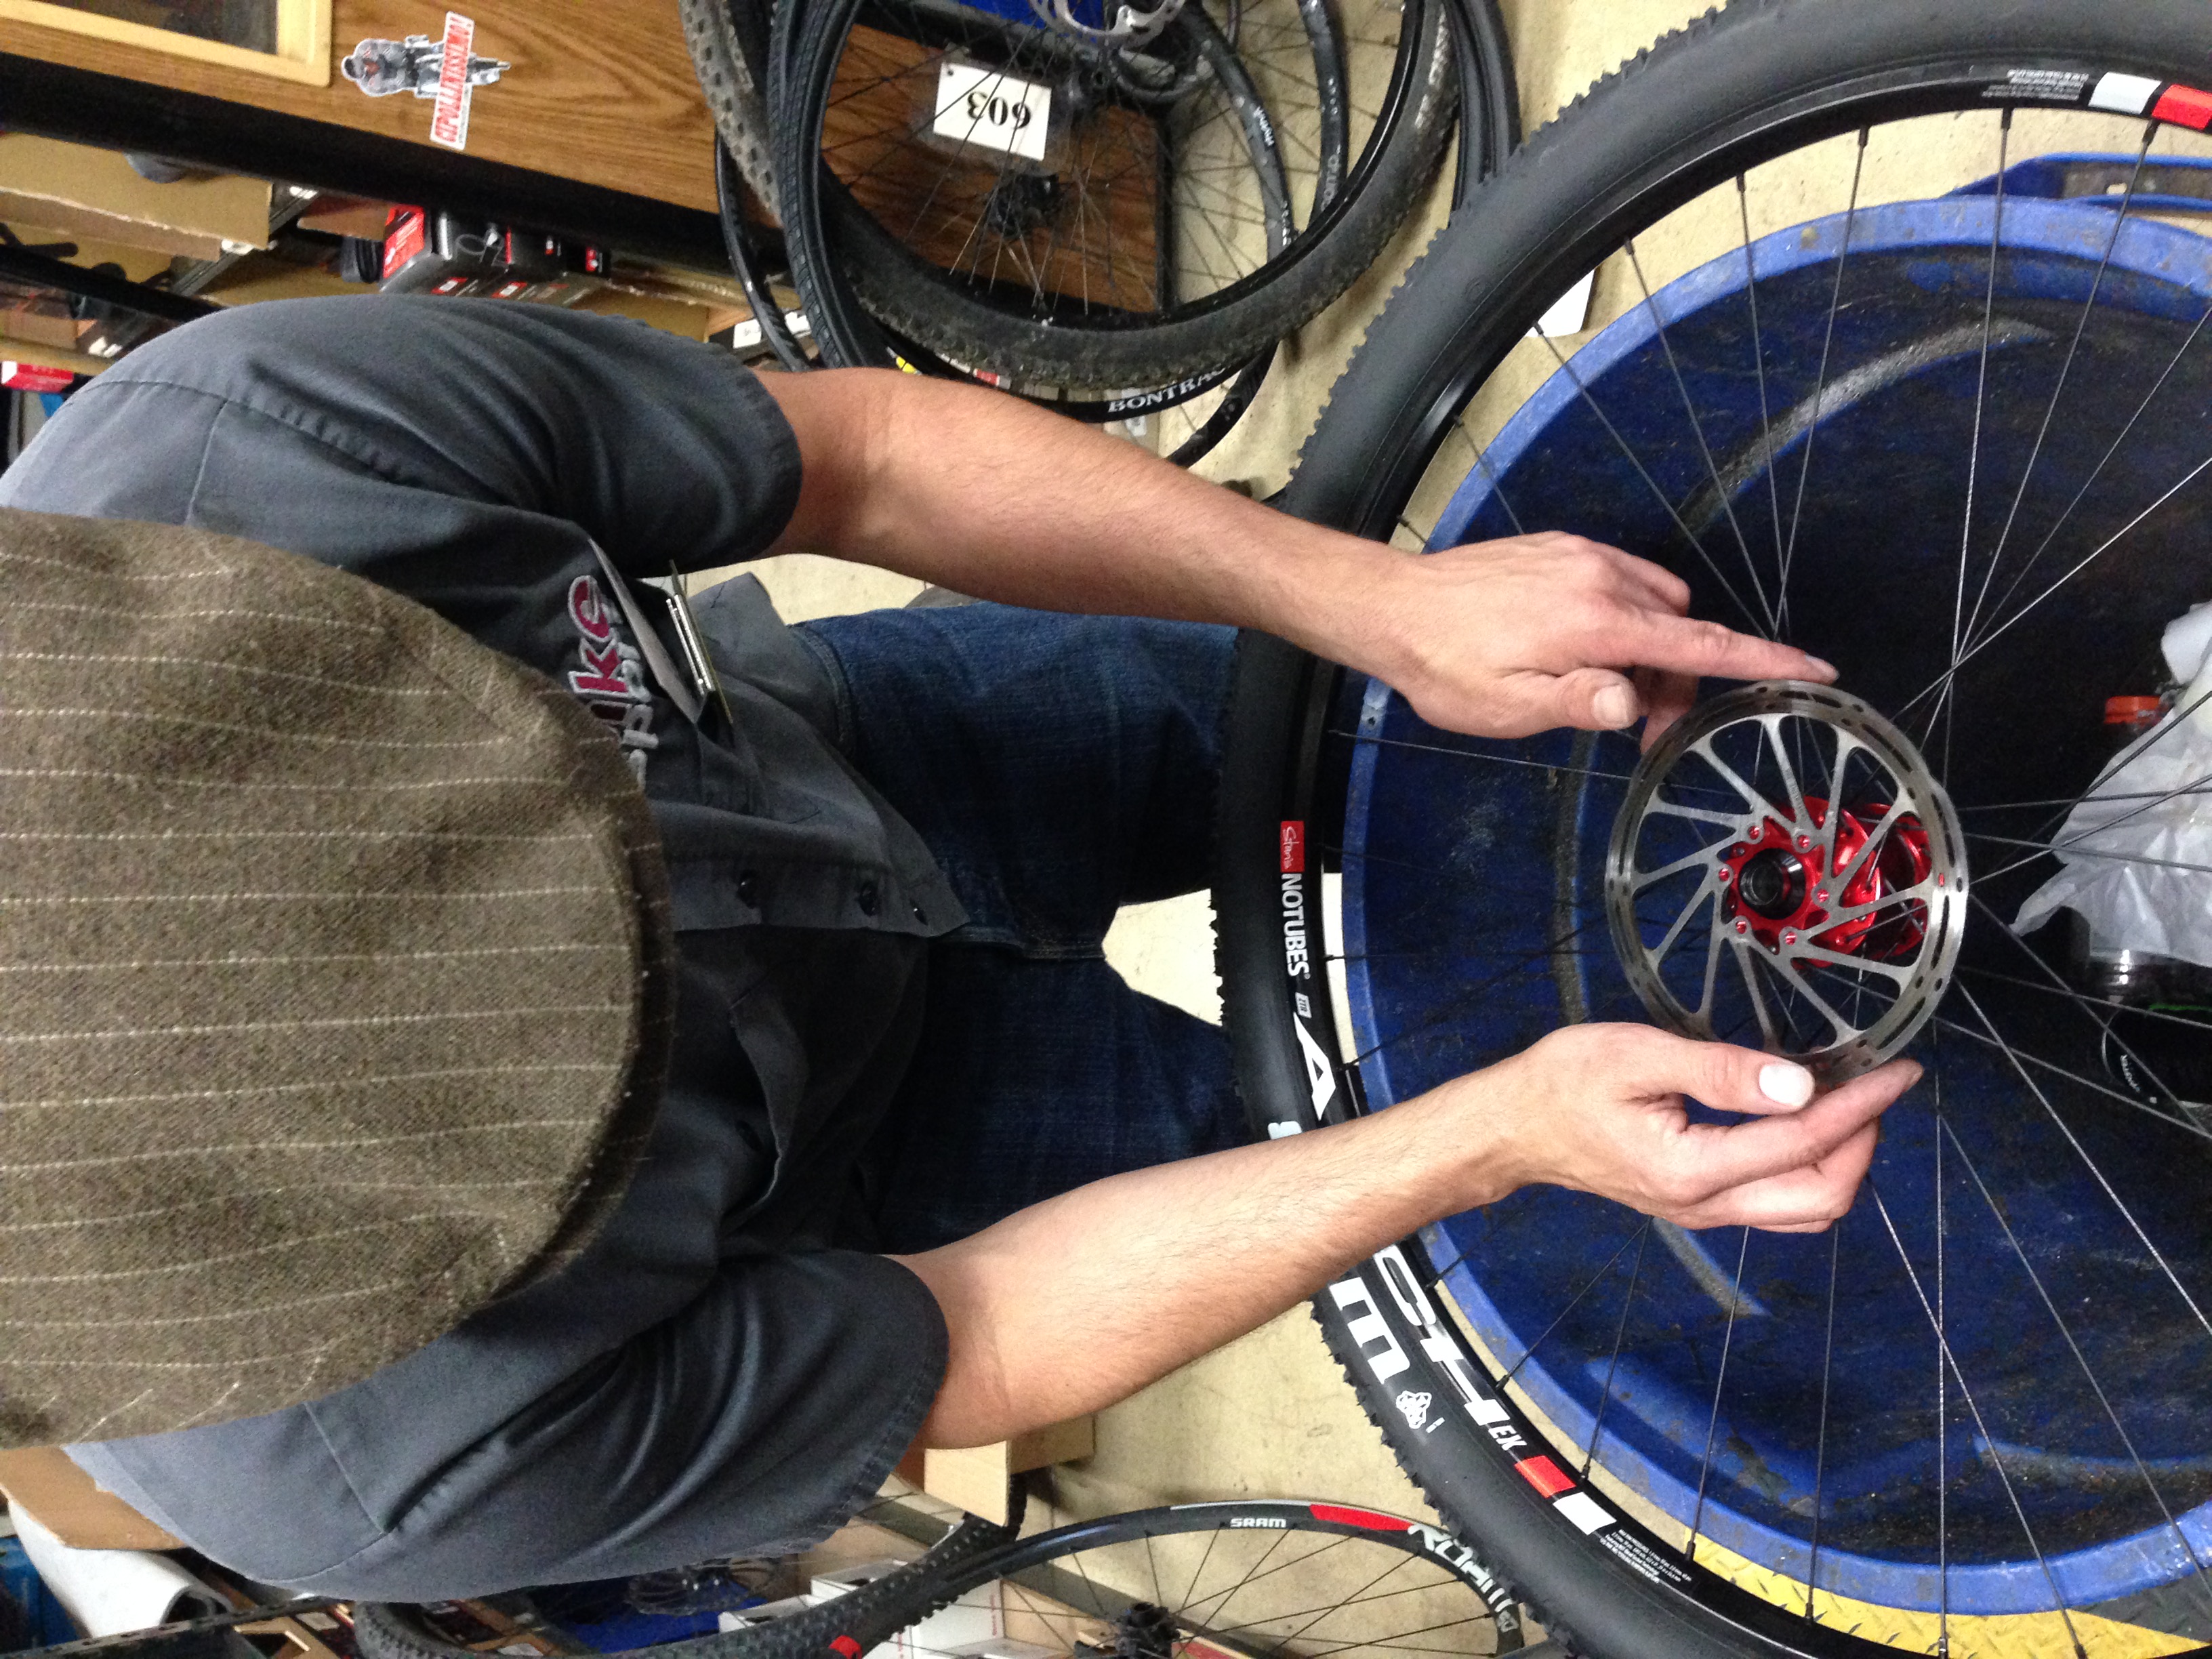
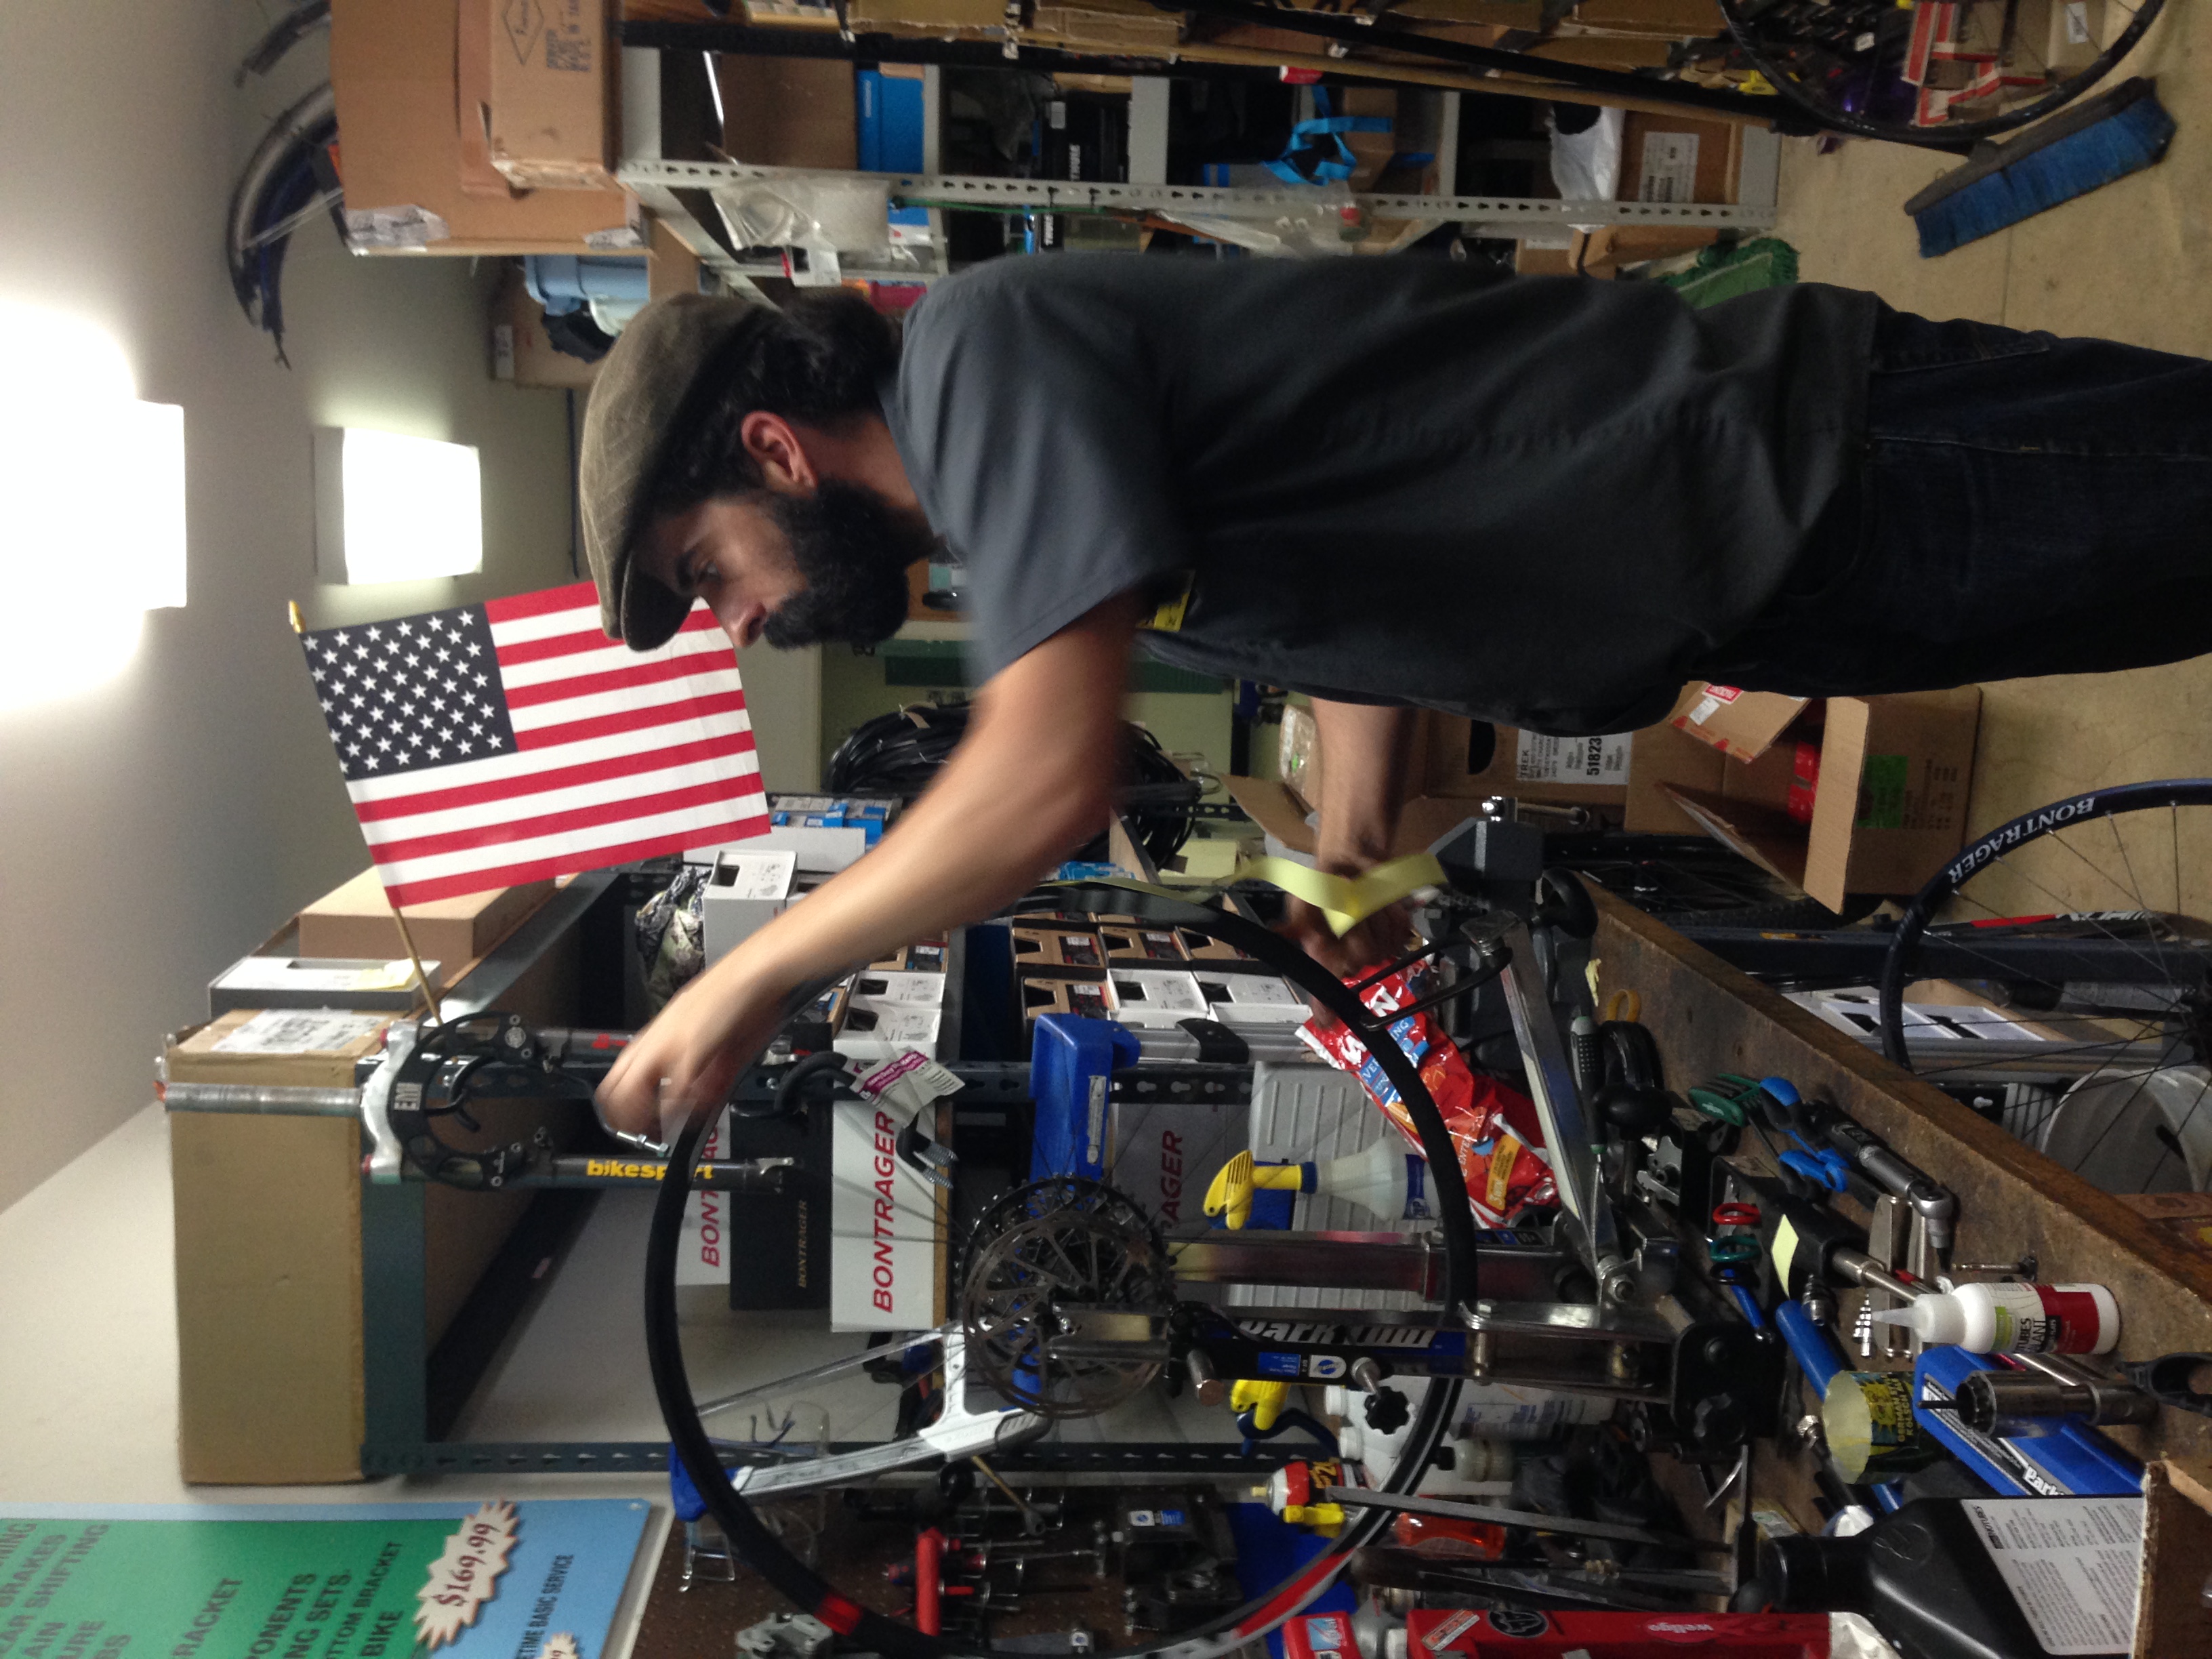
My friend at Bikesport helped me figure out how to get the components quickly, and did a #supepro job building the wheel.  Many thanks!

TRAIL TESTING

I'll post again about performance and whatnot.  For now, I'll leave you with some pics of a hot hub. 


Food Packing

For my body weight and age, I think my resting caloric consumption is around 1,400 calories. However, in one 50 mile bike ride, I burn close to 2,500 calories.  People, if that's not a reason to start biking, I don't know what is. 

Word on the street is that there are plenty of gas stations along the Divide that are selling calories.  I'm not exactly the gas station kind of eater. (As some of you know, the former life of Small Tomatoes was a food blog.) 

I'm not saying I'm NOT going to eat the crappy junk food if I'm starving, but I HAVE made some attempts to get in nutrition on the trail in ways that are novel to me. 

I've dehydrated a number of red and green peppers, broccoli, asparagus, peaches, strawberries, and bananas.  Time constraints aside, this gives me a few advantages.  allows me to buy produce when it's in season (strawberries!) or cheaply from places like the Italian Market in Philly.  

It allows me to preserve nutritious foods and skimp on weight.  I prefer dehydrated foods over freeze dried because you don't need as much water to reconstitute them.  If you eat freeze dried foods, you need to drink a lot of water to keep your body hydrated and happy.  Also, they are a little weird.

IMG_7860.JPG

I also made meat jerky.  With the help of my awesome friend Jeni (who will be joining for Montana!), I marinated chicken and pork in some special sauce, dehydrated for about 8 hours, and got jerky.  The advantages are that I had control over the source and type of meat, and I believe that if I hadn't bought the entire chicken I would've saved a lot of money.  (Don't send the vegetarian of 6 years to buy the meat.)   

Jerky marinating aside, the process of dehydrating fruits and veggies is actually not too time intensive.  98% of the work is done by the dehydrator.  You just need to plan ahead.  

I split up my bounty, put some in each box going to Montana, Wyoming, and ColoRADo. 

IMG_7830.JPG

I also put some cacao beans in the stash as well.  They are a great, non-melty way to get a chocolate pick-me-up, and make a pretty dank trail desert when mixed with honey.  (Caveat: these were bought on the street the last time I was in Nicaragua... I'm not sure where to buy them in the States.  But - the Internet.)   

ready-to-eat beans are on the right. unprocessed beans are on the left.  Heat them up in a dry skillet until they blister.  The process of removing the càscara (papery shell) is very simple after they blister. 

ready-to-eat beans are on the right. unprocessed beans are on the left.  Heat them up in a dry skillet until they blister.  The process of removing the càscara (papery shell) is very simple after they blister. 

While these foods don't offer many calories, I think they will help round out my diet on the trail.  Other things coming with me: chia seeds, recovery drink mix, almond butter, honey, and electrolyte tablets.  Oh, and whisky.  Of course. 

Packing for a 2-3 Month Bike Tour

Listen.  I'm the kind of person that HATES buying gear before I've earned it.  I raced a hand-me-down bike for 2 years before I even thought about buying a new one, and I think I rode for an entire year with regular ol' spandex before I bought a pair of chamois shorts on sale out of curiosity. So I'm cringing a little inside every time I swipe my card to buy another piece of gear for this trip. 

Gear knoll: 20 deg sleeping bag, head mosquito net, GPS spot tracker, #omaker speaker, dog pepper spray, @blackburndesign front lights, headlamp, #whisperlite international, fuel canister (no fuel inside), GSI stove set…

Gear knoll: 20 deg sleeping bag, head mosquito net, GPS spot tracker, #omaker speaker, dog pepper spray, @blackburndesign front lights, headlamp, #whisperlite international, fuel canister (no fuel inside), GSI stove set, GSI camp coffee pour-over thingy, trusty compass, #garmin etrex20, #Anker 2nd gen 9600mAh external battery pack,#klymit x-frame sleeping pad (camo print 😉), camp cup, #LLWH token, first aid kit, emergency blanket, @platypus water system, camp towel, bic razor, face sunscreen, Chapstick, hair product, sunscreen, all-purpose soap #drbronners , camp knife, and #DZNUTS 

Some of it seems like a good investment - for now. Like my Giro wool cycling jersey. Some of it already seems overkill - like the Garmin eTrex20 that retails for close to $200 and then costs an additional $200 to load with the proper topo maps for the GDMBR.  And if you skip the topo maps and just stick with the basemap, you might - like I did -  accidentally delete the basemap because the file is not protected in any way and very easy to delete, and when you call to get it figured out they say that they either have to take control of your computer to send you the file or you have to MAIL. IT. BACK. IN. .... i'm getting sidetracked.  

Bike repair knoll: bike tube, multi tool, chain break that someone almost broke, #stans, rubber bands, electrical and duct tape (yes I wrapped around my handlebars) tire lever (but I won't use them promise @tophervalenti ) patch kit, …

Bike repair knoll: bike tube, multi tool, chain break that someone almost broke, #stans, rubber bands, electrical and duct tape (yes I wrapped around my handlebars) tire lever (but I won't use them promise @tophervalenti ) patch kit, 3 x extra spokes, tubeless patch kit, master link for @srammtb 1 x 11 😍, chain lube, super glue, brake pads, zip ties, spoke wrench, extra valve/core, nuts, dérailleur cable.

Anyway, the point is that about half of my stuff is very specific to the trip I'm doing. E.g., the ultra-cool Columbia SPF 40 longsleeve shirt.  (And now we can all ponder what that actually means and if our winter sweaters are SPF 100.) 

Clothing layout: raincoat, 2 x tank tops, #columbia SPF 40 long sleeve,@girocycling #wool jersey and vest, tshirt, camp skirt, warm top base layer, 2 x socks (#injin toe socks / giro wool), bikini top, 2 x bra, cycling short…

Clothing layout: raincoat, 2 x tank tops, #columbia SPF 40 long sleeve,@girocycling #wool jersey and vest, tshirt, camp skirt, warm top base layer, 2 x socks (#injin toe socks / giro wool), bikini top, 2 x bra, cycling shorts (#ppt thin chamoux / giro#undershort), giro overshort, warm base leggings, BANDANA, 3 x undies, warm gloves, @rohancycling arm warmers, roll up@rei backpack

The only way to make myself feel better about all of this is to line it all up in a semi-organized fashion and take fun timelapse pictures.  I must say, the Blackburn Design bags do a pretty good job of gobbling up all the gear and stowing it securely away.  Very satisfying.